
Step-by-step guide to perfect filling
Refill Magic Base
Why refill? Gel refill is necessary when the natural nail has grown back and a gap appears between the gel modeling and the cuticle. It is a cost-effective and resource-saving alternative to removal and remodeling.

Preparation
Preparation is just as important when filling as
for a new modeling:+
1. Remove the old sealant : Carefully file the top layer of the sealant to remove the shiny surface. Be careful not to file too deeply to avoid damaging the natural nail . Use a medium grit file (e.g. 180 grit). Smooth edges and transitions. File the transitions between the old gel and the
Natural nail softens so that no edges or bumps are visible.
The old structure remains largely intact, except for
Liftings or cracks that need to be completely removed!
2. Nail preparation: Push back the cuticles and remove excess
Skin residue. Lightly roughen the exposed areas of the natural nail with
a buffer until they are matte.
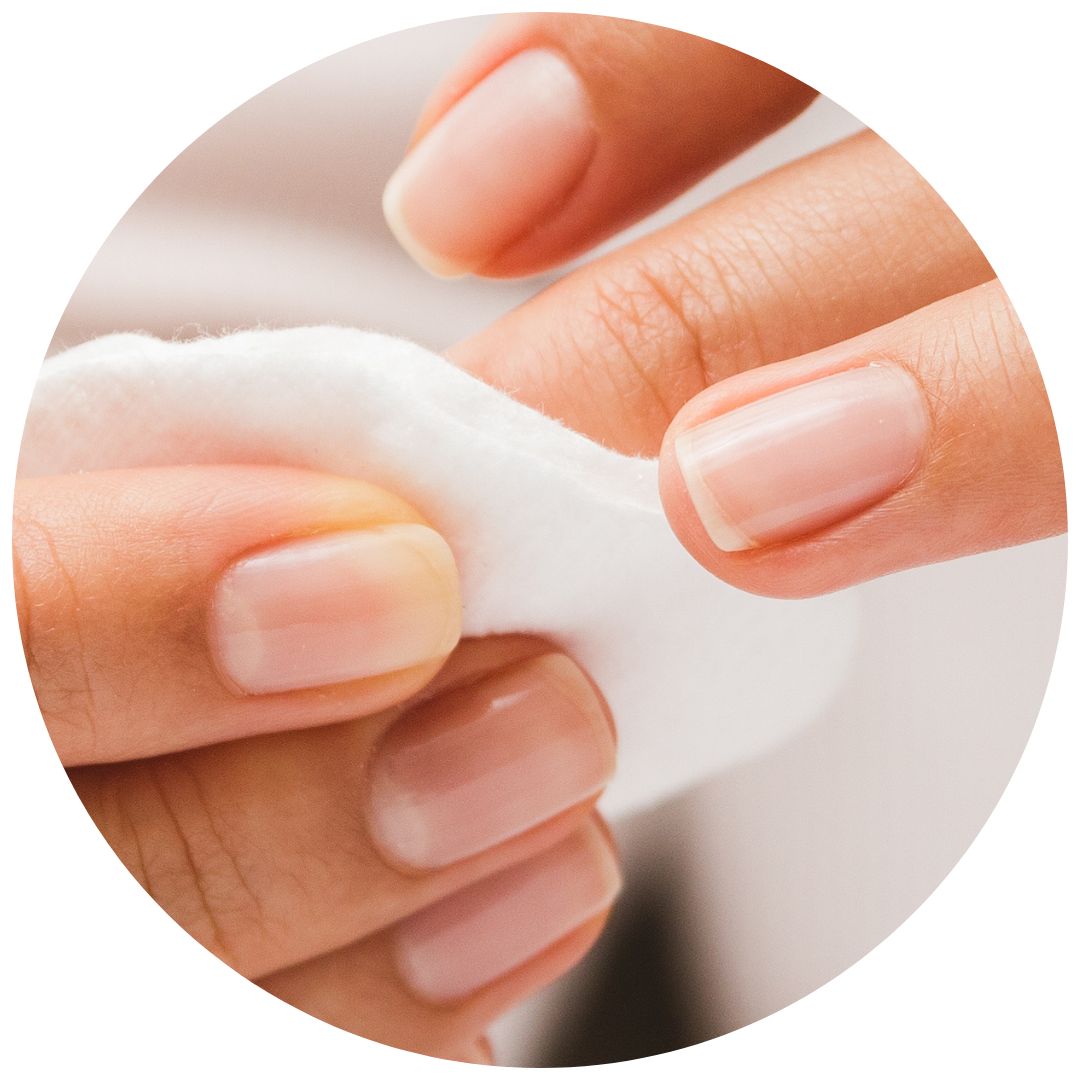
3. Degrease and optimize: Remove the filing dust with a tissue or a dusting brush. Degrease the entire nail with the Clean Off Solution and a tissue to remove grease and moisture.
Optional: If you have trouble getting the nail to adhere, use a primer. Apply VERY sparingly to the natural nail to improve adhesion. Allow to dry for about 30 seconds.
filling
The actual refill process consists of several steps:
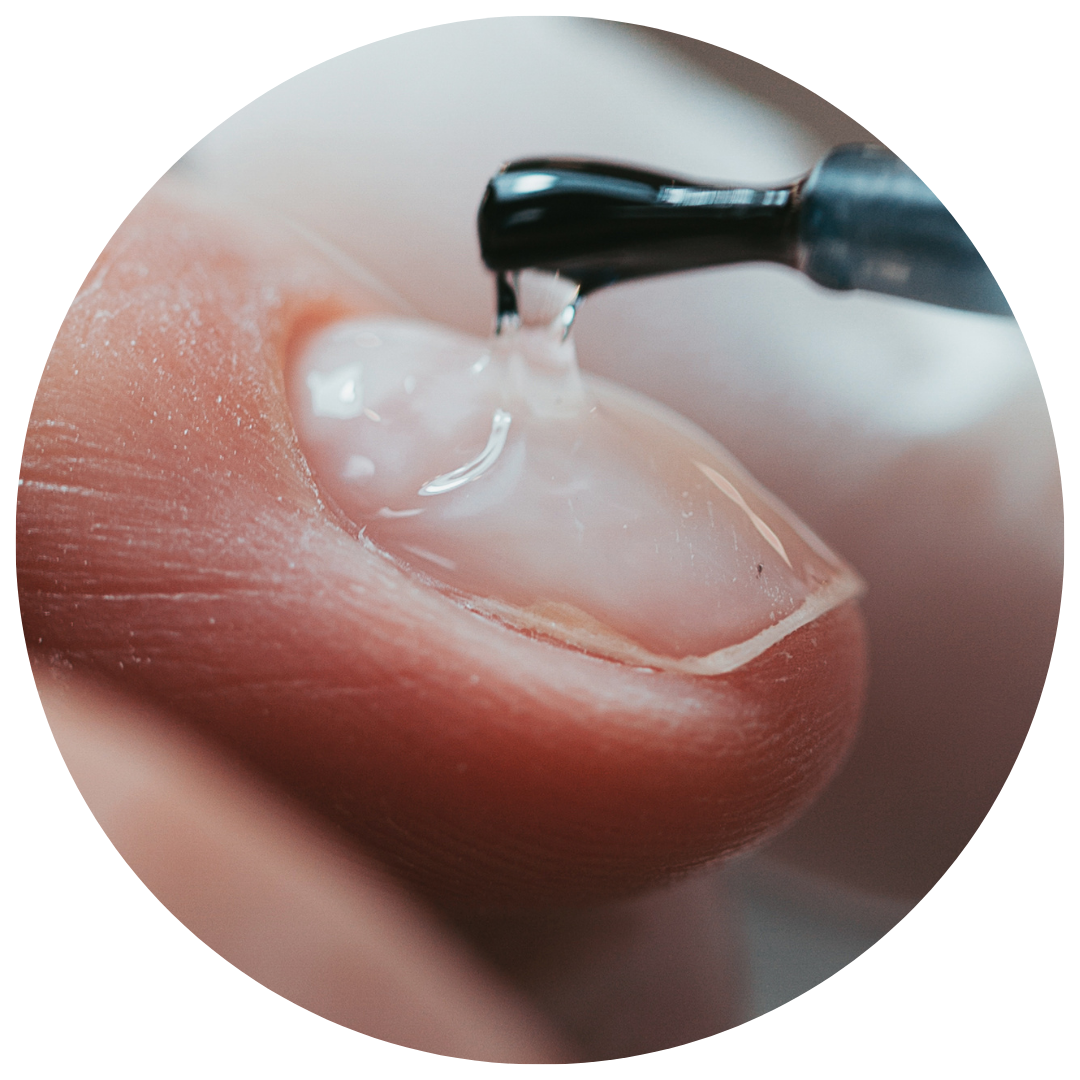
1. Renew the adhesive layer:
Apply a thin layer of Magic Base to the entire nail , including the exposed natural nail areas. Make sure the layer is even and thin . The gel should not touch the cuticle. Cure this adhesive layer under a UV/LED lamp (30-60 seconds, depending on the lamp's power).
2. Close gaps and renew the structure: To build up, place a drop of Magic Base in the back third of the nail. Use a brush to gently pull the gel towards the tip of the nail, making sure to coat the side walls and the tip of the nail .
Tip : Turn the nail upside down briefly to form the perfect C-curve . The C-curve provides stability and a natural look.
Cure the gel again under the lamp (at least 60 seconds).
Additional option : For weak or brittle nails, a second coat can be applied to increase stability.
3. Create the perfect shape:
fine-tuning
Remove the sticky layer : Clean the sticky layer on the nail surface with a cleaner or the optimizer.
- Smoothing and shaping : Smooth the surface with a buffer to remove any imperfections. Perfect the shape with a file.
- Note the C-curve : The perfect shape shows a slight C-curve from the front view and a curved C-curve from the side view.
paint and sealing
After the modeling is filled, you can customize the nail:
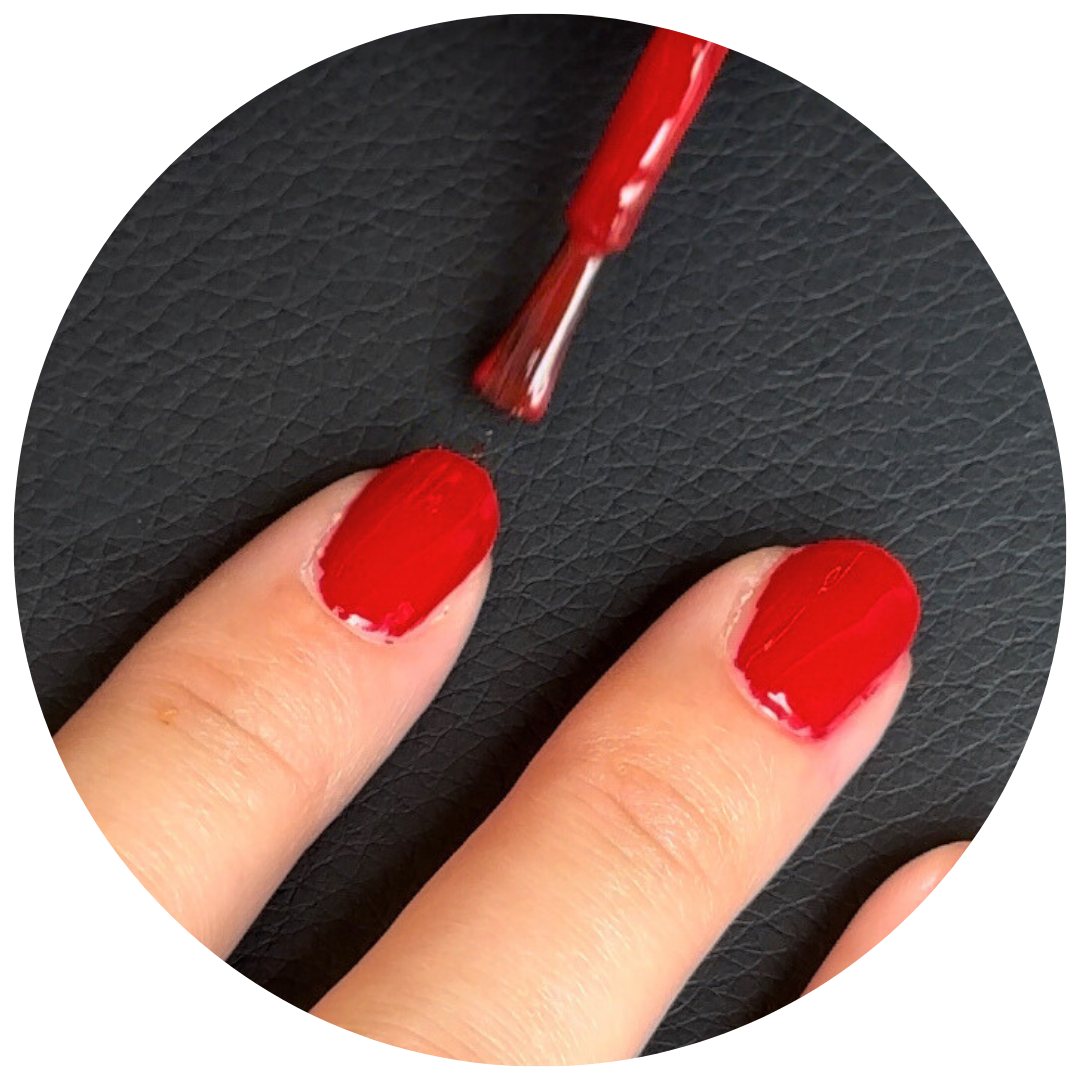
- Color varnish: If necessary, apply 1-2 thin layers of UV Lack4all gel varnish or normal nail varnish. Cure each layer (for gel varnish) under the lamp.
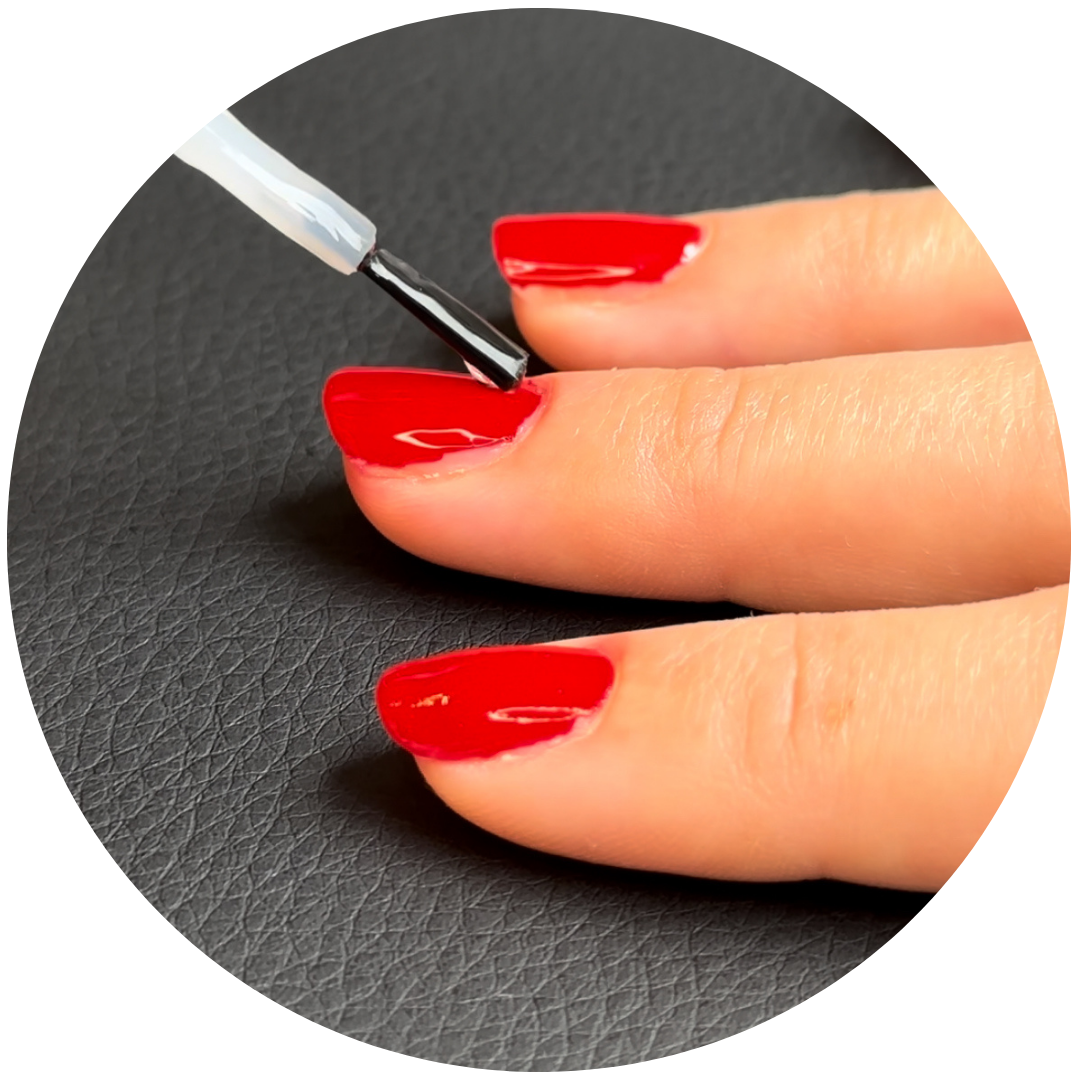
- Seal:
Gel polish: Seal the nails with a top sealer. Make sure to seal the nail tips as well to prevent chipping. Cure the sealer under the lamp (60 seconds).
Nail polish: Use the Top Coat Quick Dry for quick drying and longer durability.
finish and care
Cuticle care : Finish by applying cuticle oil to moisturize and keep skin supple.
Regular care : Make sure to care for your nails regularly to ensure a long-lasting, beautiful manicure.
ADDITIONAL TIPS FOR A PERFECT RESULT
- Patience when building : For beginners, it is recommended to work slowly and perfect the C-curve with a little practice.
- Multiple coats: Apply several thin coats of material one after the other rather than one thick coat.
- Check lamp power : A weak UV/LED lamp can result in insufficient curing.